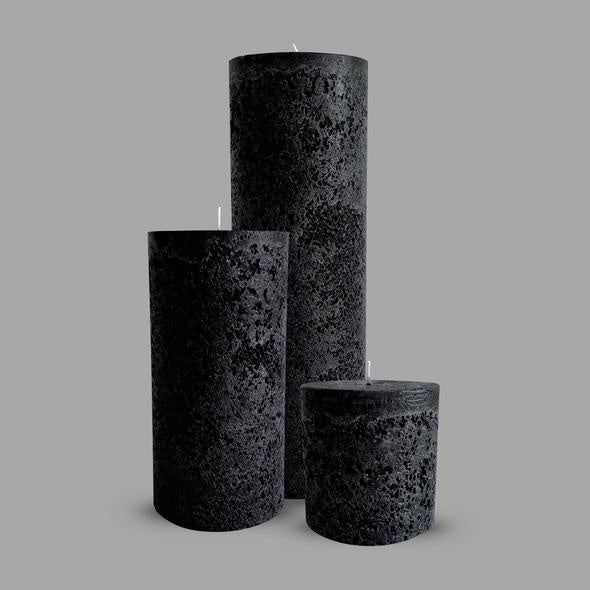
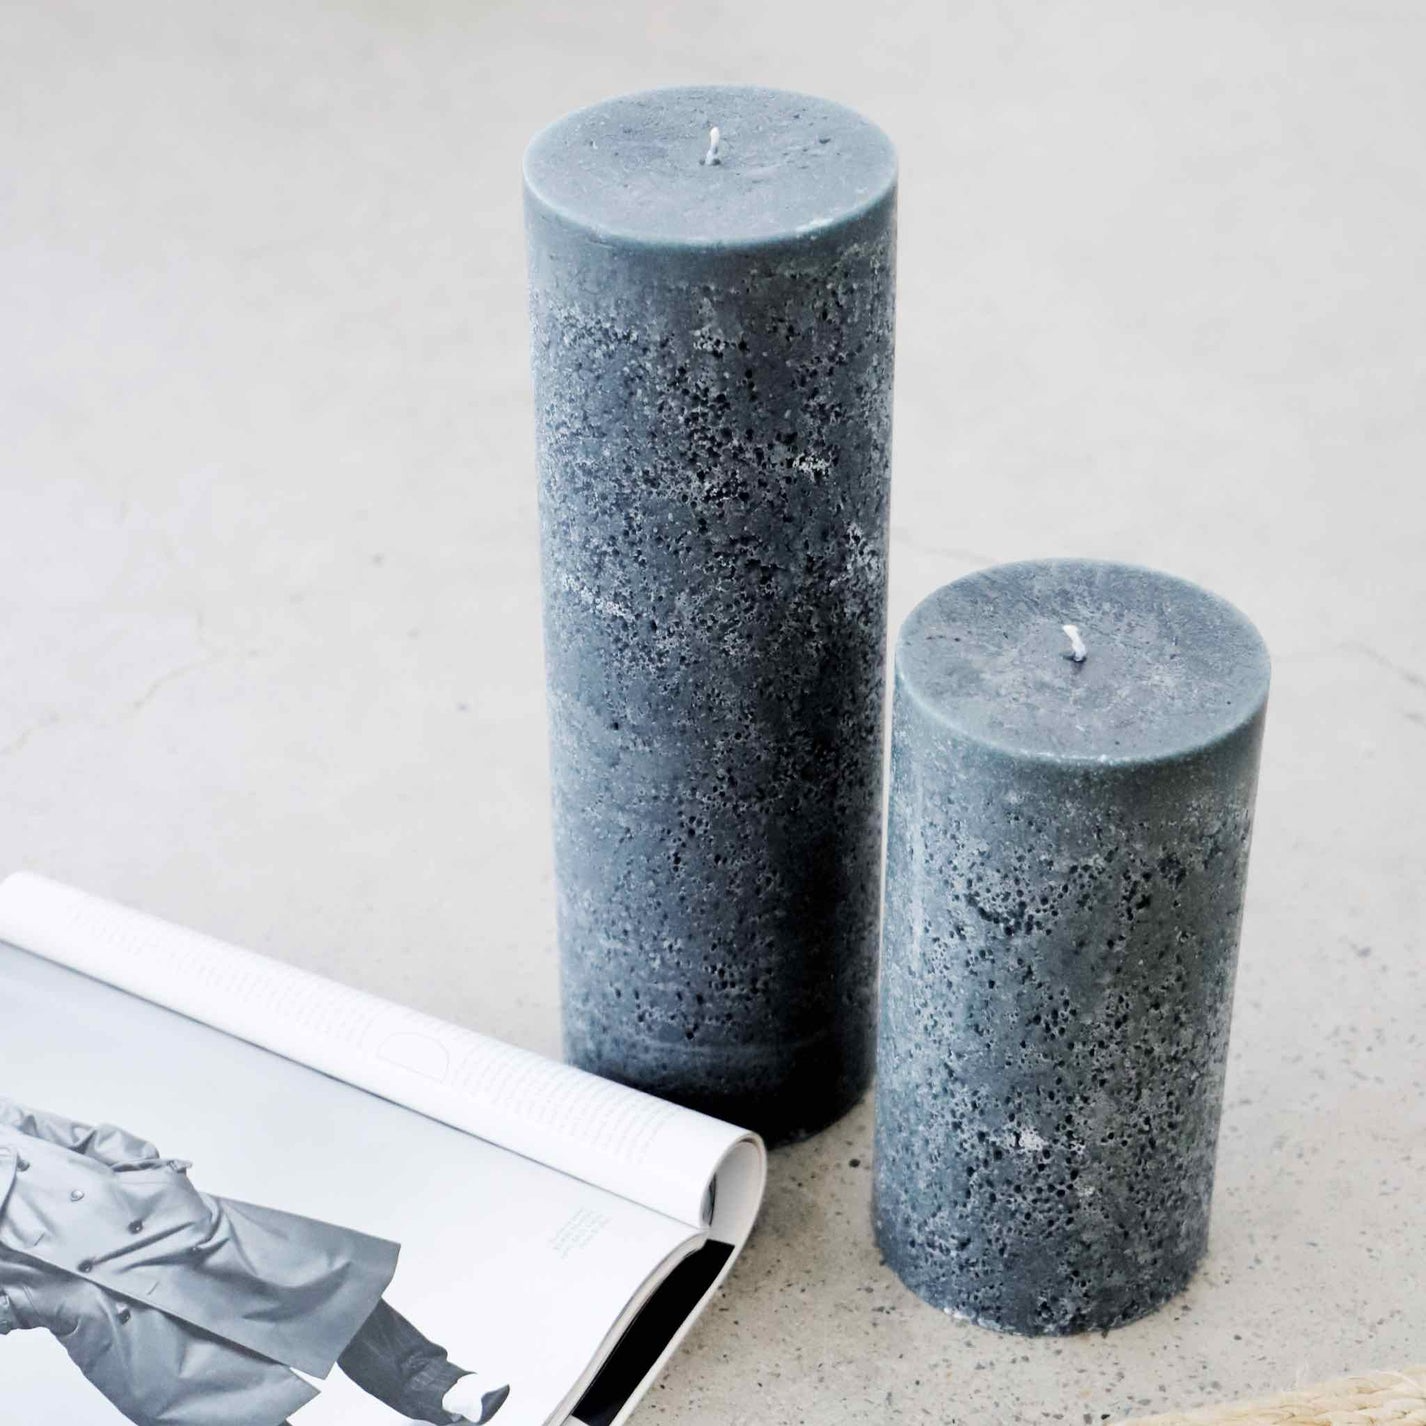
Textured Pillar Candle - Black XL
Textured Pillar Candle - Black XL
Couldn't load pickup availability
Solid black textured column candle. Hand-poured at low temperature to create a volcanic rock texture, these big candles are an impressive way to style your space. As the texture is a natural effect of the cold-pour process, each candle has its own distinct style.
Smoke-free, drip-free and poured from the finest wax. These large pillar candles are finished with a 100% cotton wick for a calm, slow burn.
• Burn time:
Small 10 x 10cm 55hours
Medium 10 x 20cm 180 hrs
Large 10 x 30cm 290 hours
• Colour: black
• Fragrance free
• Fully refined wax
• 100% cotton wick
To get the most out of your candles, read through the tips below on the common issues, and learn how to prevent and fix them.
FIRST BURN

Initial burn time
Let the wax melt close to the edge the first time you burn your candle. This may take up to 6 hours of burning, depending on the diameter of the candle (see below under 'Setting the memory' for details, or check out our Getting Started guide), so make sure you allow for enough time before you light your candle for the first time.
This is because the size of the wax pool during the first burn determines the life of the candle. Subsequent burns won't melt the wax beyond the initial wax pool, so if it didn't melt close enough to the edge of the candle, it could leave a thick, unused mantle ('tunnelling').
Setting the memory
To avoid this tunnelling effect we need to maximise the size of the initial wax pool. This is called setting the memory of the candle, and it is done by burning the candle for 1 hour per 2cm in diameter the first time you light it. For our 7cm diameter pillar candles, the initial burn time should be 3-4 hours, and for our 10cm diameter textured column candles it should be at least 5 hours. Due to their shape, our cone candles do not have such a requirement.

BEST PRACTICES
Trim the wick
It may seem counter-intuitive, but a short wick gives a cleaner, brighter flame and an even burn, while a long wick can cause smoking and can cause mushrooming of the wick, where a mushroom-like shape forms at the top of the wick which obscures and disturbs the flame.
Before lighting, trim the wick to 6mm and remove any wick debris. Any debris left in the wax pool can disturb the burning of the candle. We recommend trimming the wick every 4 hours; extinguish the flame, let the candle cool down, trim the wick, and relight.
A trimmed wick creates a calm, steady flame, which means the candle's burning process is in balance. The wick is efficiently pulling up the right amount of wax, and the flame creates complete combustion. A wick that is too long won't be able to draw wax all the way to the top, and the wick itself will start to burn, causing it to smoke. A wick that is too long can also cause a candle flame to grow too long and flare, again producing soot.
Keep distance
Place lit candles at least 10cm apart to avoid melting and warping due to heat from neighbouring candles.
Draughts
Candles burn best in still air - if too much (or too little) air reaches the candle flame, it will disturb the ideal teardrop shape of the flame and may cause the candle to start flickering and smoking. To avoid this, always burn your candles in a well-ventilated room, away from drafts, vents or strong air currents. If a draught can't be avoided, try shielding the flame from the draught, for instance by placing it in a candle holder, and turn the candle periodically to avoid uneven burning and possible candle collapse.
Wax pool
The wax pool should always be kept clean. Any debris (e.g. pieces of wick, burnt matches) should be removed so as not to disturb the burning of the candle.
Burn time
For best results, don't burn your candle for longer than 4 hours at a time (this can be longer for our 10cm diameter textured candles, which benefit from longer burning times). Extinguish, let the candle cool down, trim the wick, and relight.
Storage
Candles are sensitive to temperature and light. Prevent candles from fading, cracking and melting by storing your candles in a cool, dry place, away from direct sunlight, dust and fluorescent light. Store your candles in an upright position and don’t leave them in a car on a warm day, or they might warp from the heat.
COMMON ISSUES

1. TUNNELLING
When a candle burns hollow, or leaves a thick, unused mantle or rim, this is referred to as 'tunnelling'. Tunnelling has some negative effects: if tunnelling continues unchecked, you'll end up throwing away a large part of your candle, as the rim won't melt away. A tunnelling candle will also smoke, as the tunnel disrupts the airflow to and from the flame.
It can be avoided by making sure the initial burn is long enough to melt the candle all the way to the edge, or in other words; to maximise the wax pool. See above for details of this process, which is referred to as setting the memory of the candle. As a rule of thumb, burn your pillar candle for 1 hour per 2cm in diameter the first time you light it.
If the tunnelling hasn't gone too far, a way to fix it is by 'hugging' the candle; pushing the soft wax rim at the top of the candle inwards towards the flame, so that it has a chance to melt.
If however the tunnelling has gone too deep to fix by hugging, the rim can be trimmed down with a sharp knife when the wax is warm. Blow out your candle, make sure the wax pool solidifies or clean it out to avoid dripping wax everywhere, and cut off the excess rim. Be careful not to damage the rim or the candle might start dripping when you relight it.
Note that a single-wick candle with a diameter greater than 10cm will generally tunnel, as the wick won't generate enough heat to melt the wax all the way to the edge.

2. SMOKING
A well-made candle can produce a little smoke every now and then, but it should never continuously smoke. If your candle flame keeps flickering, it might also be smoking. If a noticeable amount of smoke is being generated, or the sides of your container show black marks, knowing the causes can help stop it.
Keep your wax pure
It is a common misconception that sooting is caused by the type of wax (e.g. beeswax, coconut, palm, paraffin or soy wax), but sooting is primarily due to flame and combustion disturbances1. Contrary to popular belief, the wax type has little to do with whether a candle smokes or not, but what is important is the purity of the wax that is used. Any impurities mixed into the wax, including scent oils3, can impair combustion conditions and cause smoking2. Always choose candles with high-purity wax, and make sure the wax pool is free of any debris.
The most common culprit for a smoking candle is a flame disturbance, which itself can have multiple causes, as outlined below.
Move away from draught
If a candle is exposed to a draught, vent or air current, the flame will start flickering and it will likely smoke. To avoid this, move the candle out of the draught or shield the flame from the draught.
Keep the wick trimmed
A wick that is too long won't be able to draw wax all the way to the top, and the wick itself will start to burn, causing it to smoke. A wick that is too long can also cause a candle flame to grow too long and flare, again producing smoke. If the wick has gotten too long, extinguish the flame, let the candle cool down, trim the wick to 6mm (1/4 inch) and light again.
Avoid tunnelling
A tunnelling candle will usually smoke, as the tunnel disrupts the airflow to and from the flame, similar to a container that is too small - the next paragraph explains how this works. To prevent or fix tunnelling, read our tips here.
Choose the right container
If your smoking candle is inside a candle jar, vase, lantern or container, then it could be that the vase is too small for the candle. As the oxygen inside the container burns up, more air is sucked into the container from the top, yet at the same time warm air, heated by the candle, is rising up and trying to escape the container. These two flows or air disrupt each other, causing a draught inside the container that disturbs the flame. You can often see the results of a soot-producing candle on the rim of your jar in the form of a black ring.
To avoid this, choose a bigger container and/or smaller candle: make sure that there is enough space between the candle and the vase edge. As a rule of thumb, ideally you should be able to insert two fingers between the candle and the edge of the container.

Don't blow it!
Last but not least is the process of extinguishing the candle. The greatest amount of sooting from a candle generally occurs when the flame is extinguished. One of the cleanest ways to do it is to dip the wick: extinguish your candle by pushing the wick into the pool of hot wax and pulling it back out.
Any candle that continually flickers or smokes is not burning properly and should be extinguished and allowed to cool. The wick can then be trimmed, the wax pool checked for any debris and the candle relit after ensuring that the area is free of draughts.
Share
